|
SIMSKY - tutorial How to Lighten the Picture
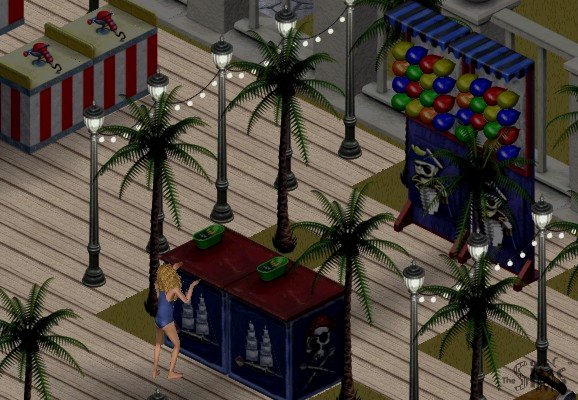
In this tutorial I will show you how to lighten a relatively dark picture. To try this, a photo from the nightlife of your Sims is ideal to use. If you have none, download this picture of my Sims:
Start Simsky and open the chosen picture. By pressing the asterisk key (or by clicking on the green icon with the sun) open the Light Effects menu. There is a check box for 'Entire picture' - if it is not checked, click on it. The window looks like this now:
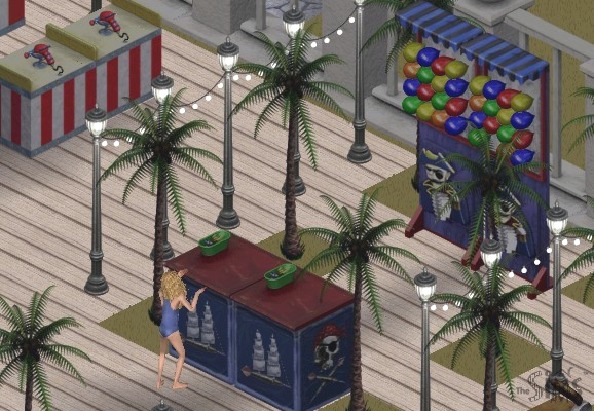
Notice the three bars - they are used for changing the brightness of the red, green and blue component of the picture. If you drag a square (circled above) in one of the bars, the value of all three bars will be changed at the same time after releasing the square. If you want to change the value of only one bar, click on the arrow at its end. The bar value informs you by how many steps you are going to change the particular color component: +10 means that you want to add brightness by 10 steps, -1 means reducing brightness by 1 step. For our purpose (to increase brightness of the picture) - it is convenient to set all three bars to the value +10. Then change the brightness of the picture by pressing the Enter key or by clicking on the button OK. If you press the Enter key again or click on OK again, further lightening of the picture occurs. For the optimum lighting two or three clicks are sufficient. If the lightening is excessive, there is no need to worry - press the F7 key on your keyboard, which results in reverting the picture to the saved state. When you are satisfied with the current state of picture, save it to memory by pressing F6. Then you can without worry continue to adjust the colors and brightness - and at any time you can return to the previous saved state of the picture by pressing F7. The resulting picture in my case looks like this:
Once you are satisfied with the result, you can close the Light Effects menu by pressing Esc. To save the picture, press F2 (or click on the icon of a diskette). If you want to replace the original picture from The Sims, find its name, click on it, then click the button Save and in the rewriting confirmation choose Yes. If you want to save the resulting picture under a new name, you may have noticed that The Simsky added to the name the ending @ Simsky (which you can arbitrarily change) and by clicking on the button Save, your picture will be saved in selected folder. Do you want more? For example an automatic setting of suitable brightness and contrast of the picture? Or the possibility of automatic or manual sharpening the picture? No problem! Write me what you would like to add to Simsky and if there are enough of you, I will implement your requirements in the program!
|